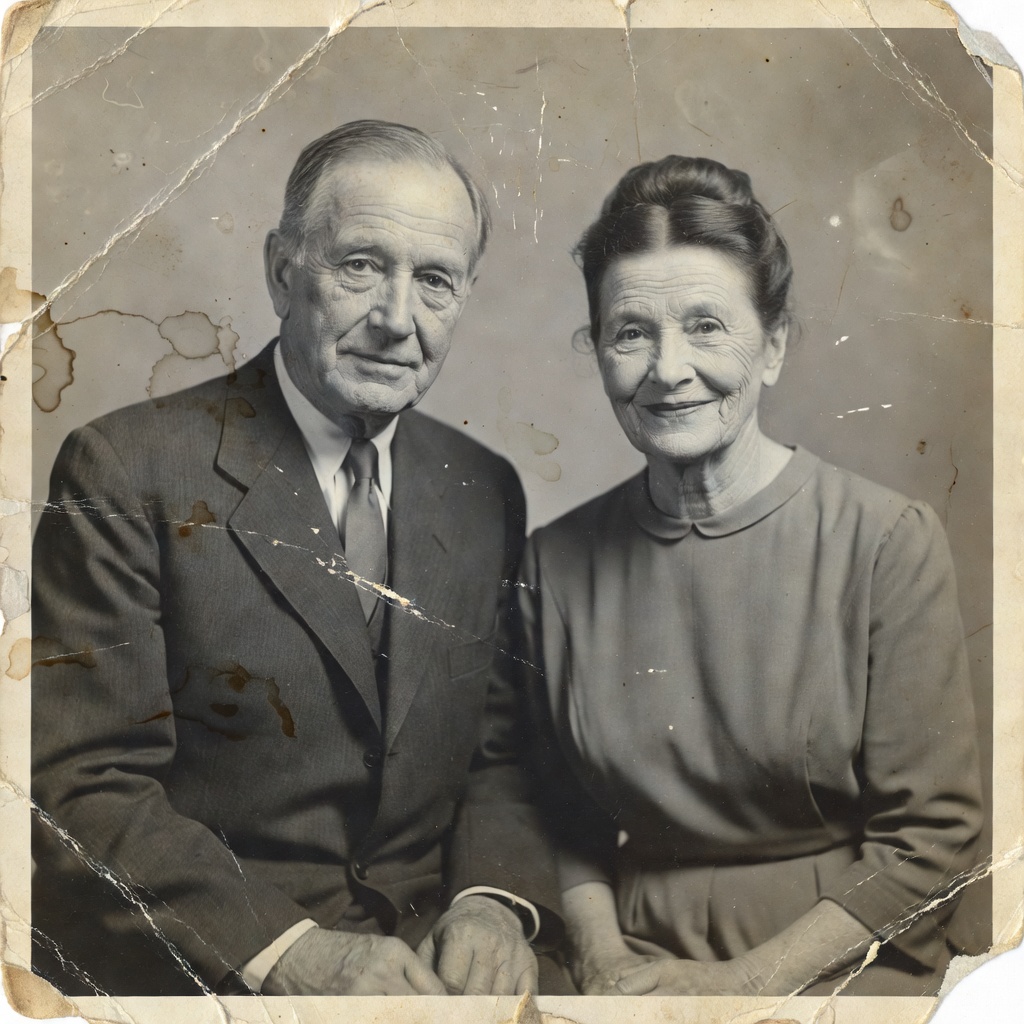
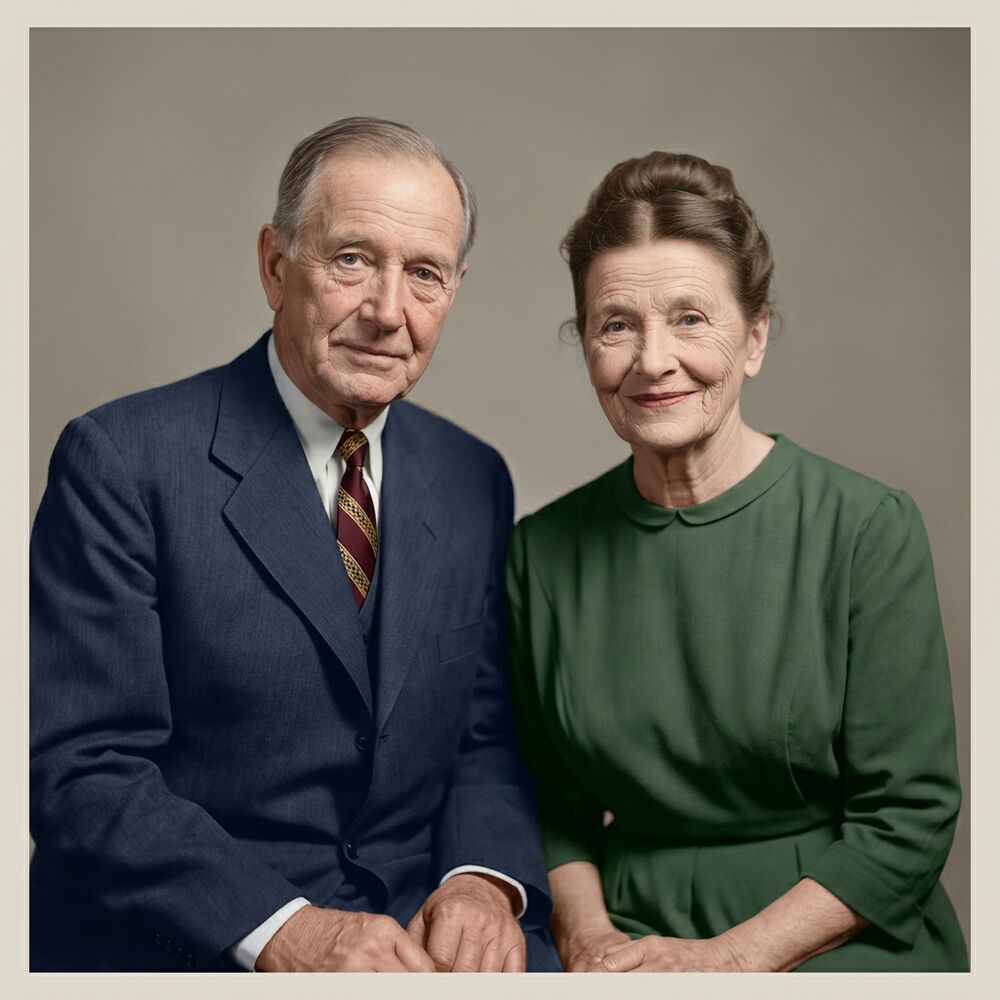
Every restoration starts with what you feed it. Reviva's AI can repair scratches and fading, but it can't invent detail that your capture threw away. Spend two minutes getting the photo of your photo right and the difference in the final result is dramatic. Here's the whole method.
The five steps
- Find flat, even lightThe single biggest factor. Soft, indirect daylight is ideal — set the print near a window on an overcast day, or in open shade. If you use lamps, place two of them at equal angles to cancel shadows. Avoid direct sunlight and single overhead bulbs, which create glare and hot spots.
- Lay the print flat on a dark surfacePut the photo on a plain, matte, dark background (a book cover or a sheet of dark paper works). Dark surfaces stop light bouncing back up through the edges. Flatten any curl first — a few hours under a heavy book usually does it.
- Shoot straight-on, centeredHold the phone parallel to the print and directly above its center. Shooting at an angle skews the rectangle (keystone distortion) and softens one side. Line the photo's edges up square in the frame.
- Fill the frame and focusMove close enough that the photo nearly fills the frame — this uses your camera's full resolution on the image instead of the tabletop. Tap the screen on a face to lock focus and exposure, then shoot at the highest resolution your camera offers.
- Check before you uploadZoom in on the shot. Is it sharp? Any glare across a face? Your own shadow in the frame? Reshoot if so. When it's clean, you're ready to restore it.
Beat the two most common problems
Glare and reflections
Glossy prints reflect everything. If you see a bright hot spot, change the angle of the light, not the camera — move the print relative to the window until the reflection slides off. Turning off overhead lights and relying on soft side light almost always fixes it. Never use your phone's flash on a print; it guarantees a reflection right in the middle.
Your own shadow
When you lean over the photo to shoot straight down, your body can block the light. Position the print so the light comes from the side you're not leaning over, or hold the phone slightly to one side of your head so your shadow falls outside the frame.
Phone scanner apps vs. the camera
Dedicated photo-scanning apps can help by auto-cropping and de-skewing, and some capture several angles to remove glare. They're worth trying. But a careful shot with your normal camera app, following the steps above, gives the AI more genuine resolution to work with than an over-processed app export. If in doubt, capture with the plain camera and let Reviva do the enhancement.
Format and file tips
- JPG, PNG and HEIC all upload fine — there's no need to convert.
- Don't apply filters or "auto-enhance" before uploading; send the AI the most neutral capture you have.
- For a whole stack, capture them all in the same lighting setup, then batch-restore the archive together.
Once you've got a clean capture, the rest is one tap. See the full restoration guide, or just upload your best shot — the first photo is free.