
An archive is only as safe as its most fragile copy. Right now, for most families, that's a single stack of prints in a closet — vulnerable to fire, flood, fading and simply being lost. Turning it into an organized, backed-up, restored digital collection is one of the most meaningful weekend projects you can do. Work through these seven steps in order.
- 1. Gather everything in one placePull every source together: loose prints, albums, envelopes from the lab, slides, negatives and any photos already on old phones or hard drives. You can't protect what you haven't found. A big table and a few boxes is all the setup you need.
- 2. Sort before you scanDo a rough pass first. Group by family, by era, or by event. Pull the duplicates and the truly throwaway shots. You don't have to digitize every blurry frame — deciding what matters now saves hours later and makes the collection usable.
- 3. Digitize every photoCapture each keeper as a digital file. A flatbed scanner is highest quality, but a phone works beautifully if you follow a good method — see our guide to scanning old photos with your phone. Capture at the highest resolution you can; you only want to do this once.
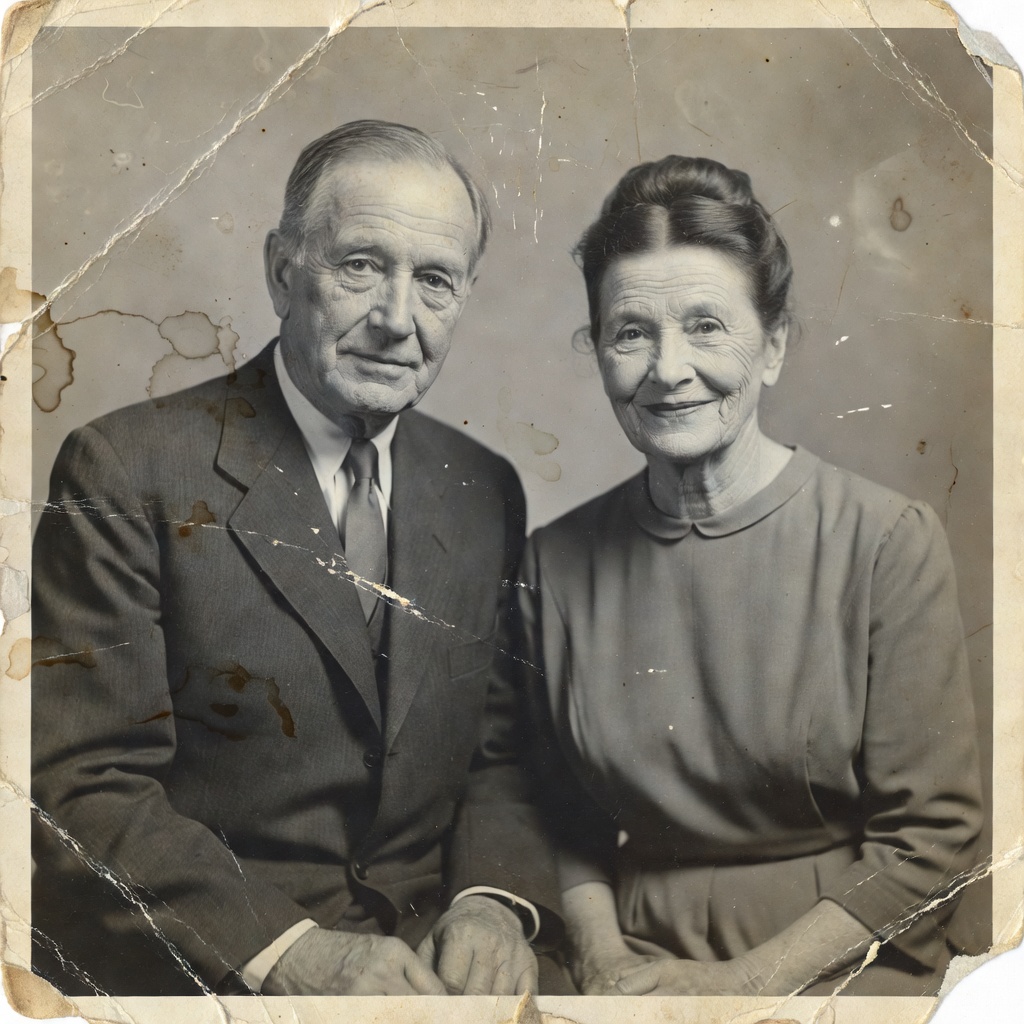
- 4. Restore the ones that matterFaded, torn and black-and-white photos come back to life once they're digital. Upload them to restore old photos with AI — repair the damage, add color if you like, and keep every face the same. You can batch a whole stack at once, and your first photo is free.
- 5. Label and organize the filesA folder of "IMG_2043.jpg" helps no one. Rename or tag files with who, when and where — even approximate years help enormously. A simple folder-per-decade or folder-per-family structure beats a single giant pile. Add names of people while the older relatives who remember them are still around to ask.
- 6. Back up in three placesFollow the 3-2-1 rule: three copies, on two kinds of media, with one off-site. In practice that's your computer, an external drive, and a cloud service. A single copy is not a backup — it's a countdown.
- 7. Share so the archive lives onAn archive nobody sees is a time capsule waiting to be forgotten. Share the restored photos with family in a shared album, print a book, or send the standouts to the people in them. Distribution is preservation: the more copies out in the world, the harder the memory is to lose.
Start small — don't wait for the perfect weekend
The biggest reason archives never get saved is that the whole project feels overwhelming. It doesn't have to be done in one sitting. Pick the ten photos you'd grab in a fire and do those first: scan them, restore them, back them up. That single afternoon already puts your most irreplaceable memories out of harm's way, and the rest can follow at whatever pace suits you.
Why restore, not just scan?
Scanning preserves a photo exactly as it is today — including the fading and damage. Restoration preserves how it was meant to look. Doing both gives you an honest archival copy and a beautiful, shareable version. For heavily damaged prints, our honest guide to repairing damaged photos explains what to expect before you start.
When you're ready, the tool is one tap away and the first photo is free — a low-risk way to see what your family's oldest pictures can look like again.