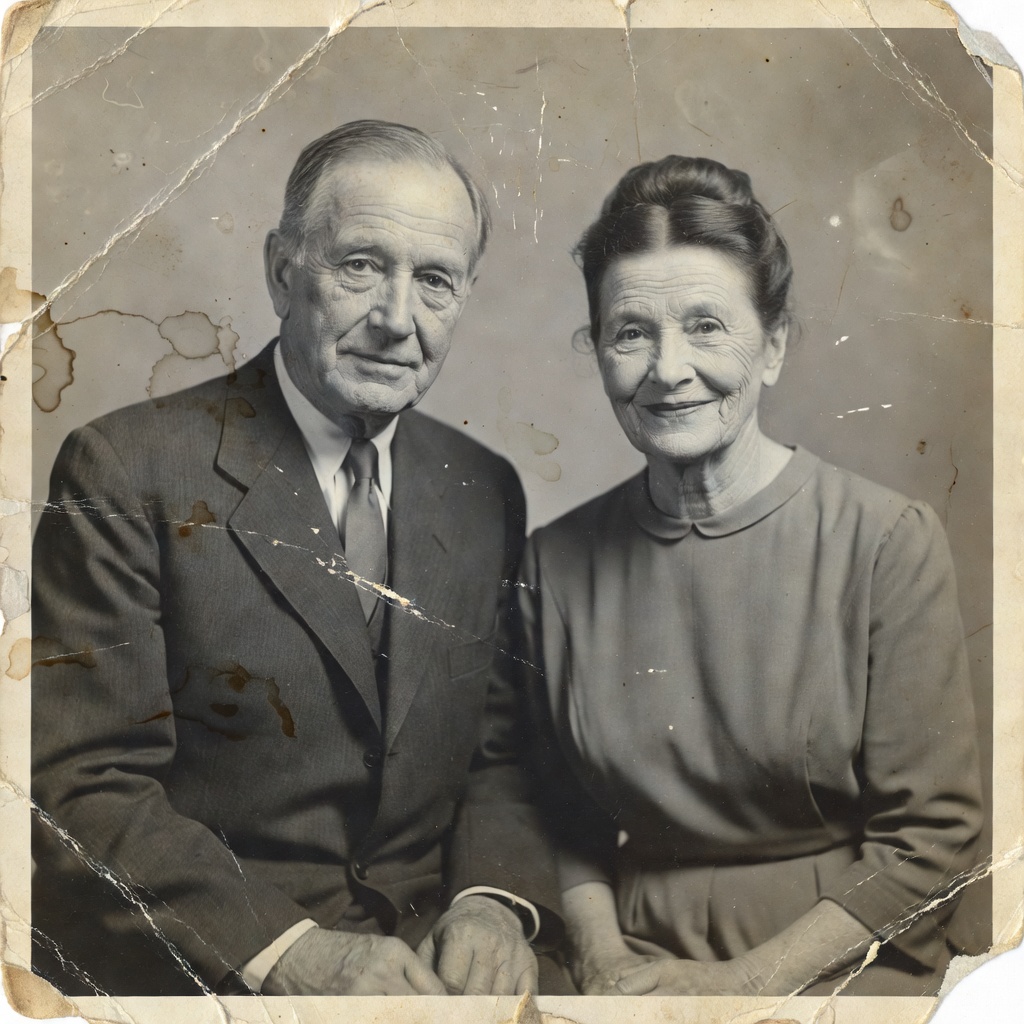
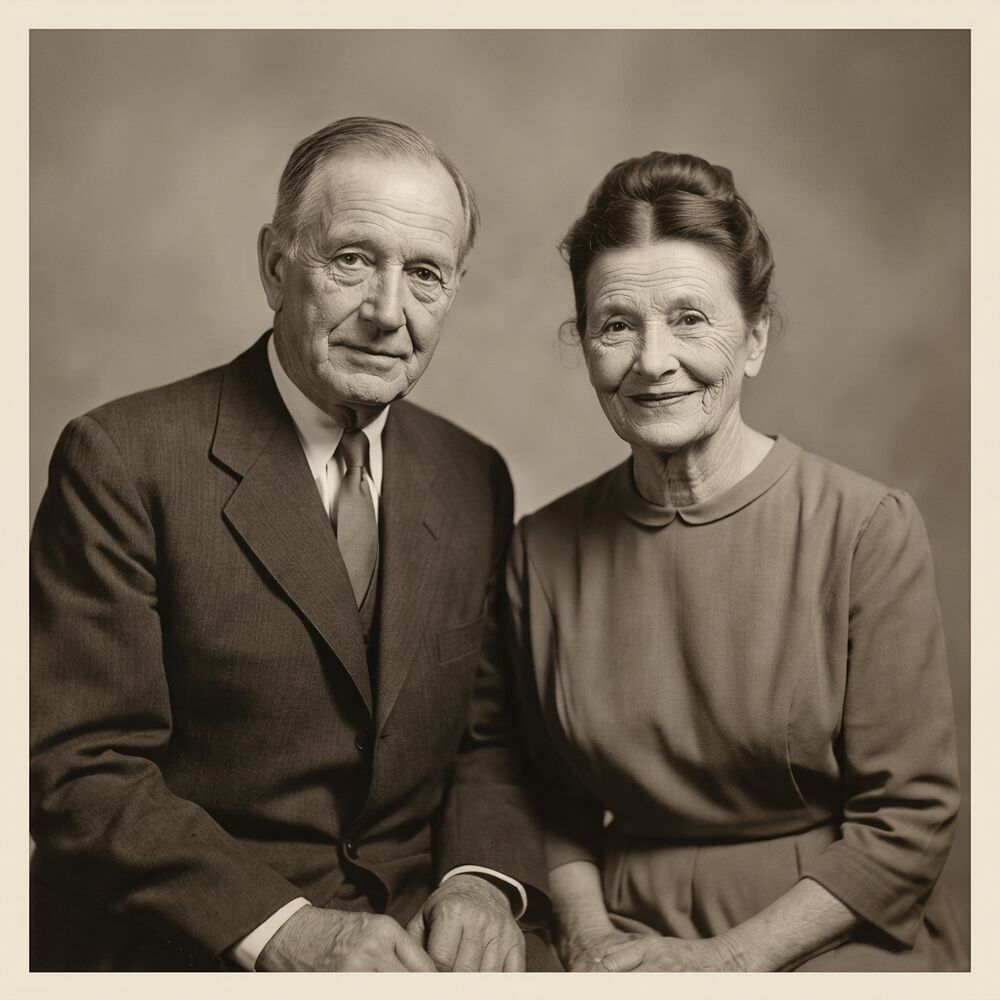
Physical damage is what makes an old photo feel lost. A crease straight across a face, a tear that removed someone's shoulder, water stains that bloomed across the sky — these are the marks that make a picture painful to look at instead of a joy. Repairing that damage by hand is slow, expert work. AI reconstructs it automatically by understanding what should be there and rebuilding it seamlessly.
What AI can fix well
For the vast majority of damaged prints, AI restoration does an excellent job on:
- Scratches and scuffs — even dense networks of fine surface scratches disappear cleanly.
- Tears and cracks — a tear through a background or clothing is rebuilt convincingly.
- Creases and fold lines — the white crease line is filled and the surface smoothed.
- Spots, stains and foxing — mildew spots, ink marks and age stains are removed.
- Fading and discoloration — flat, yellowed or grey images get their contrast and tone back.
- Water damage — blooming and emulsion lifting are smoothed over in most cases.
Because the same pass can also add color, damage repair and colorization happen together if you choose the Restore & Colorize mode.
Where AI has limits — the honest version
We'd rather set the right expectation than oversell. AI reconstruction is an educated guess, so it struggles when there's nothing left to guess from:
- A face that is largely missing. If a tear removed most of someone's face, the AI will invent a plausible face — but it won't be their face. There's no data to recover a likeness that isn't in the image.
- Large blank areas. A big missing corner in a detailed scene may be filled with something believable rather than what was truly there.
- Text and fine specifics. A sign, a date stamp or small printed text in the damaged zone may be reconstructed inaccurately.
- Severe blur. AI can sharpen, but it cannot recover detail that was never captured in a heavily out-of-focus shot.
The rule of thumb: if a human looking at the photo could reasonably guess what belongs in the damaged area, AI will usually rebuild it well. If even a person couldn't tell, treat the result as a tasteful reconstruction rather than a factual one.
How to repair a damaged photo
- Capture the print as cleanly as you can. Good, even light and a straight-on angle give the AI the most to work with — see our phone-scanning guide.
- Choose a mode. Faithful Restore repairs and keeps it black-and-white; Restore & Colorize repairs and adds color; the full finish adds a gentle retouch.
- Restore and review. Download the result, and re-run it if you'd like a slightly different reconstruction of a damaged area.
Handle the original with care first
Before you photograph a fragile print, don't try to flatten a curled photo by force or tape a tear — you can cause more harm. Lay it flat under light weight overnight, dust it gently, and capture it as-is. The AI works from the image, so a careful capture of a damaged original beats a rushed capture of a "fixed" one every time.
Damage repair is the heart of full photo restoration. Your first photo is free, so the safest way to judge whether AI can rescue a particular picture is simply to try it on that picture.